We've got your back
Sterling Trader® Manager Guide
Sterling's user manuals are continuously updated digitally. Explore the step-by-step resources in the product user guides to sharpen your trading & risk management skills.
Sterling's user manuals are continuously updated digitally. Explore the step-by-step resources in the product user guides to sharpen your trading & risk management skills.
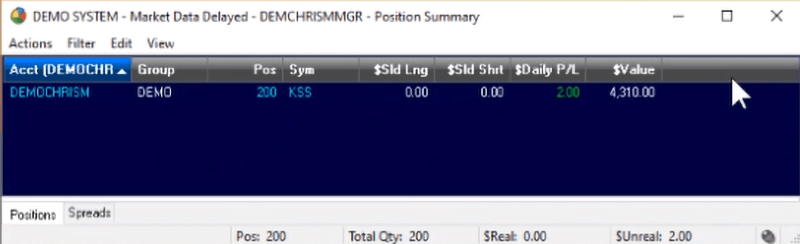
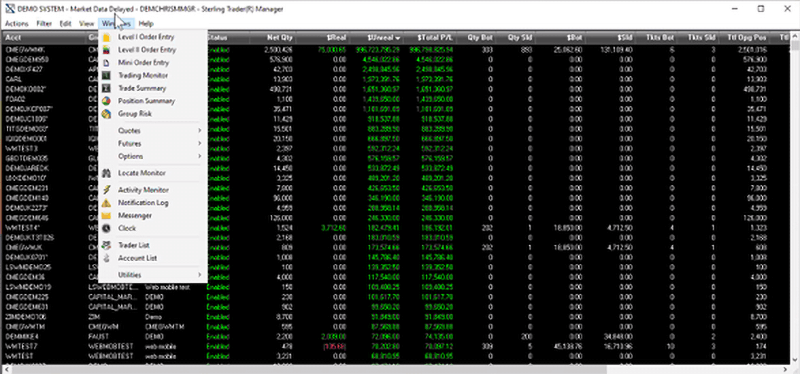
The “Windows” menu offers the same direct access real-time trading screens as the windows menu in Sterling Trader® Pro, except that the data applies to all accounts linked to the Manager. So, a position summary window will list all the positions of every account linked to that Manager, a trading monitor will show all trades for all accounts. Please consult the user guide for Sterling Trader® Pro for the basic functionality of these windows. The exception is the Group Risk window, available in Sterling Trader® Manager, and some extra features in Trading Monitor and Position Summary.
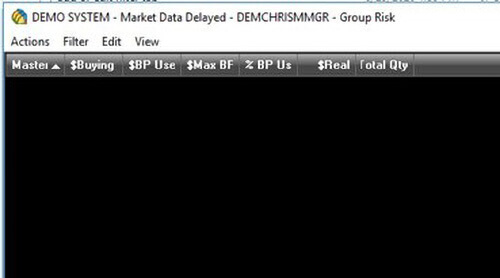
This window gives you a snapshot of buying power currently being used on a group level. In the Sterling risk system, accounts are assigned to groups. One firm may have several groups of accounts. In the Main Menu window, you see all the accounts individually. In the Group Risk window, you view whole groups on one line. You can combine more than one group into a group risk entry.
When you first bring up the Group Risk window, it will be blank.
Click on the actions menu and select “Add Group” to start adding groups to the list.
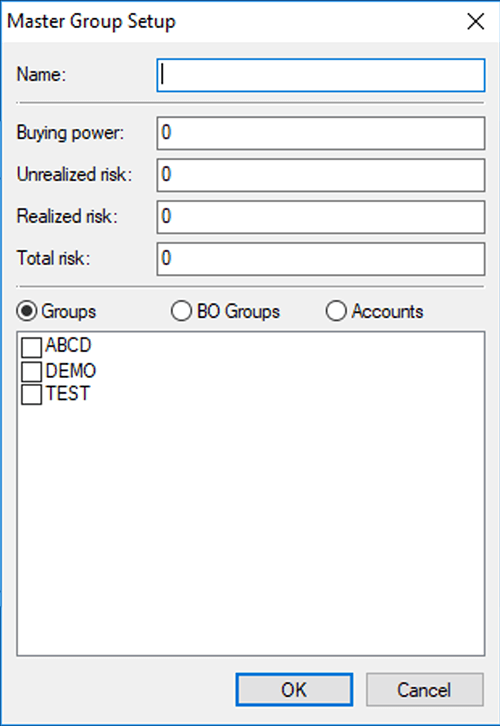
The Master Group Setup window pops up with the groups you can choose from. In this example, there are two test groups.
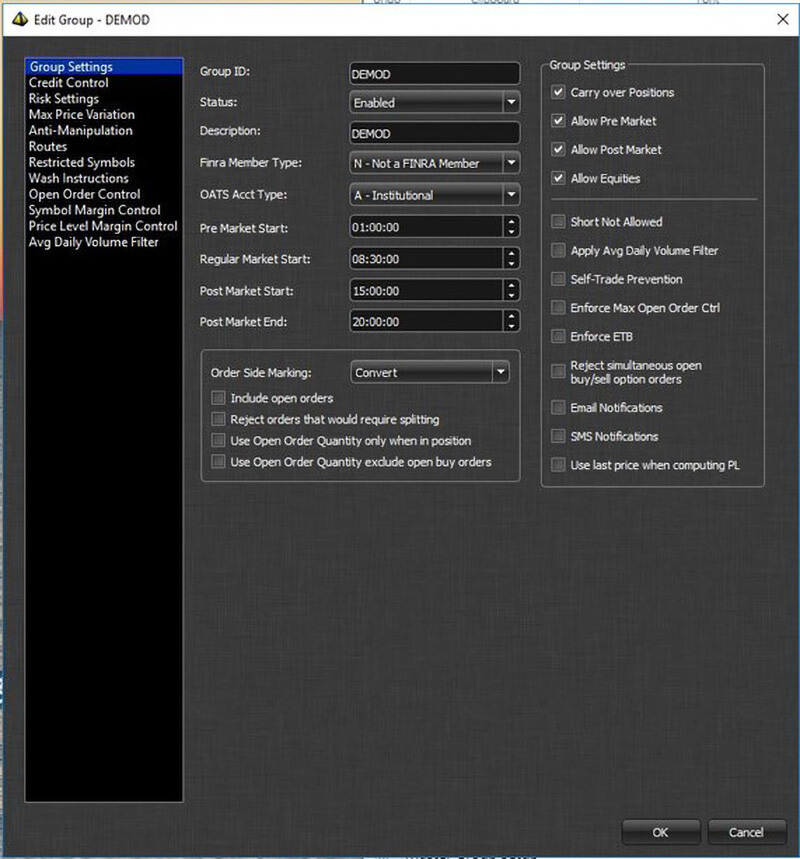
To set up a new Master Group:
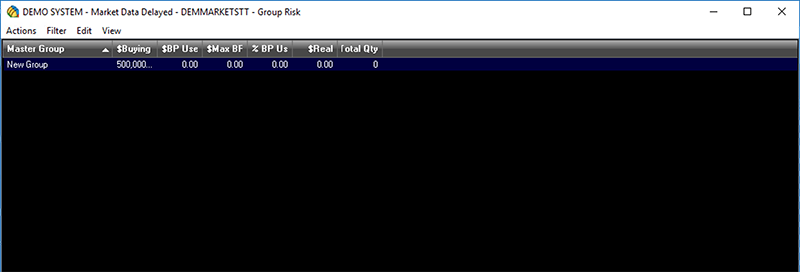
The columns shown above are the only columns available in the Group Risk window. They are:
In the “View” menu you can select Settings to set the criteria for highlighting a Master Group.
Now, any Master Group will highlight if Warning or Critical percentage is met.
Options Risk looks at stocks and the option contracts that have been bought or written against those stocks as a whole position. This information is used to enable an auto-hedge function. Take a look at the below example.

Accounts JETEST1 and JETEST2 hold 300 shares of IBM each. However, the Position Delta is very different for each account. If you right-click on the first IBM position, you can select Details from the pop- up menu. The Position Summary window pops up for this position. As you can see, this account is long 3 IBM calls. So, both IBM and the calls IBMGB are factored in to the one-line quote in Options Risk.
The account JETEST2 has written 3 covered calls against their IBM position, which is why the position delta differs from the IBM position that also carried 3 long call options. The difference in these strategies corresponds to the difference in Pos Delta and the P/L numbers.
These option positions are bundled with the underlying stock in the Options Risk window to give the manager a complete overview of the entire position. The columns shown above in the Options Risk window are the total columns available with the exception of AH (Auto-Hedge, which, by design, does not function on Manager). They can added or removed from the “View – Settings” menu.
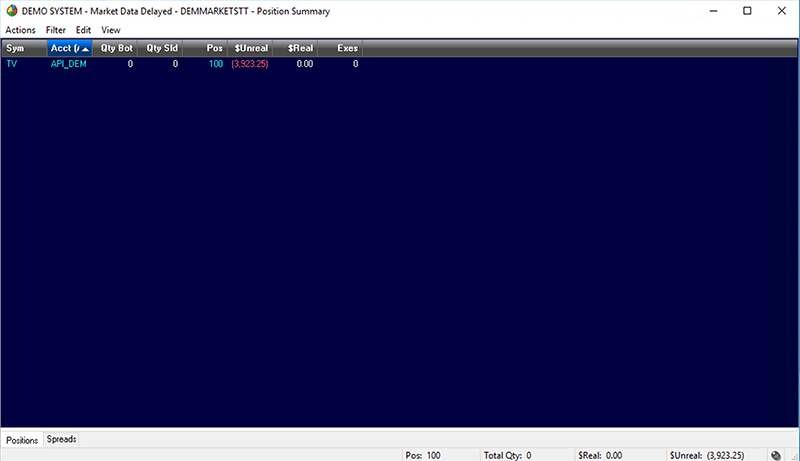
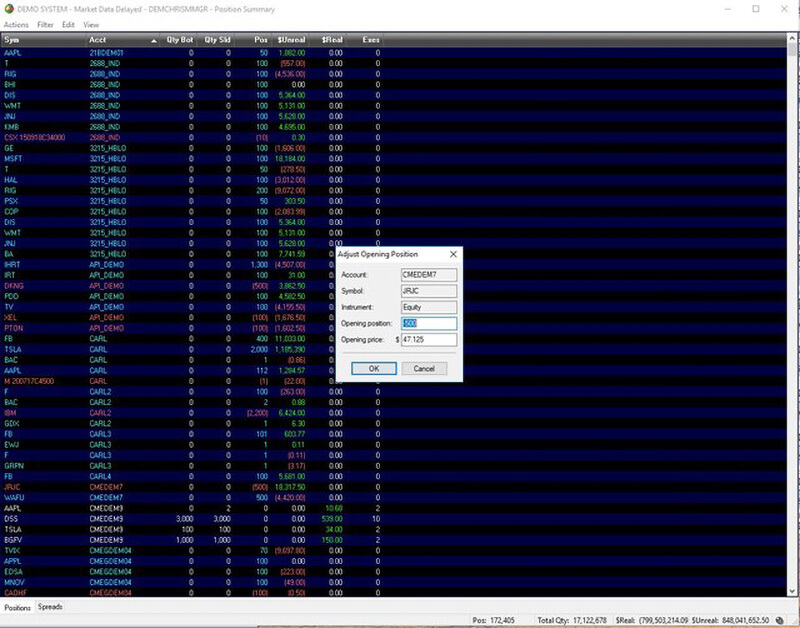
This section is a quick look at the special features available in Sterling Trader® Manager Position Summary and Trading Monitor windows. These features allow you to adjust individual positions and trades and are only available in the right-click pop-up menu. These are the functions:
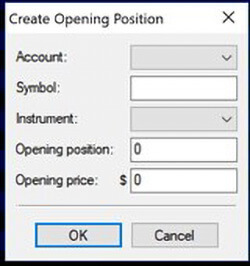
Opening Position – Allows you create a new position or adjust a current one.
To create a new opening position:
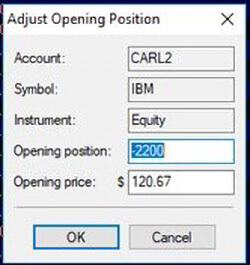
To adjust an opening position:

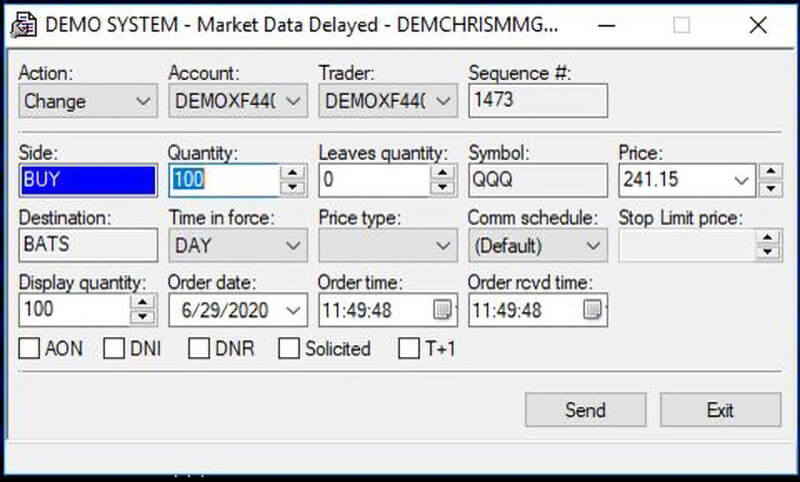
Maintenance – Adjust the details of an intraday trade.
To perform Maintenance on a trade:
Allocating trades in the Trading Monitor
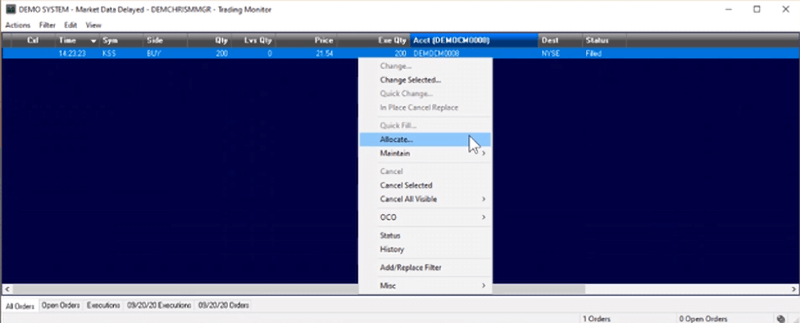
Through the Trading Monitor window you can open the Allocation tool. You can do this by a right click on the account and then go to Allocate…
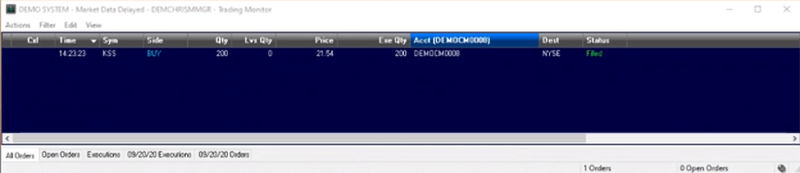
You can do this by a right click on the account and then go to Allocate...
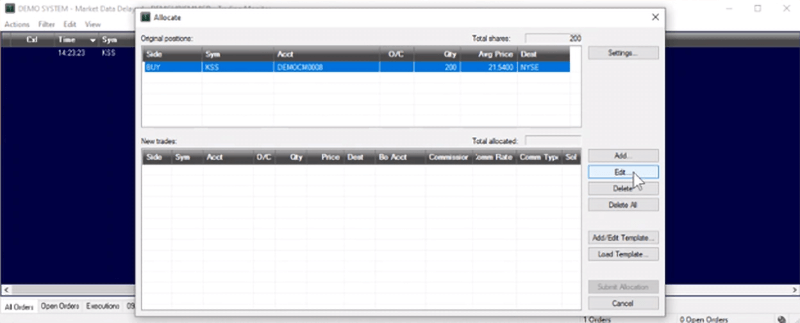
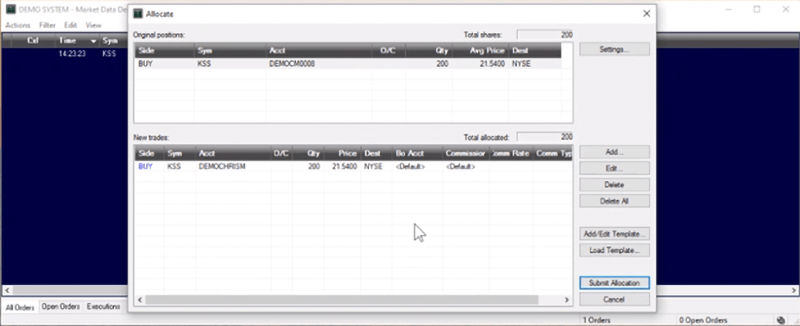
Once the Allocation window is open you will highlight the trades in question in original allocates window and click edit.
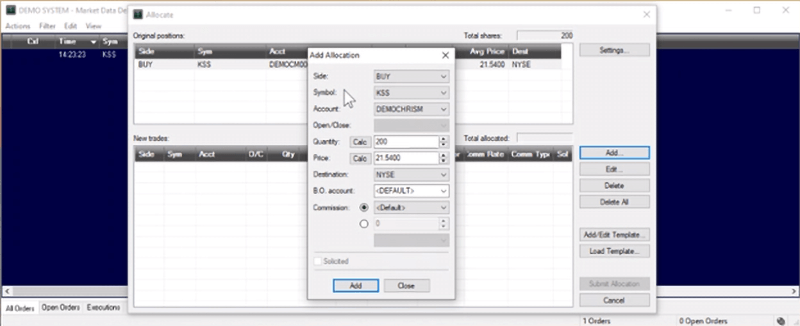
The add allocation window is where you will add the order and its attributes and click add.
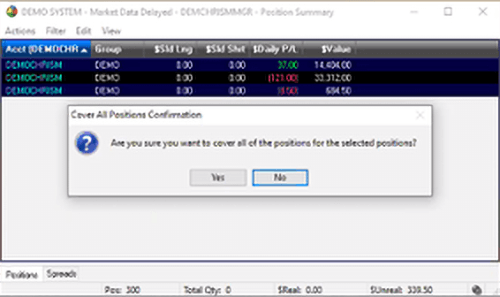
From there it will show up under New trades where you will highlight the orders again and click submit allocation.
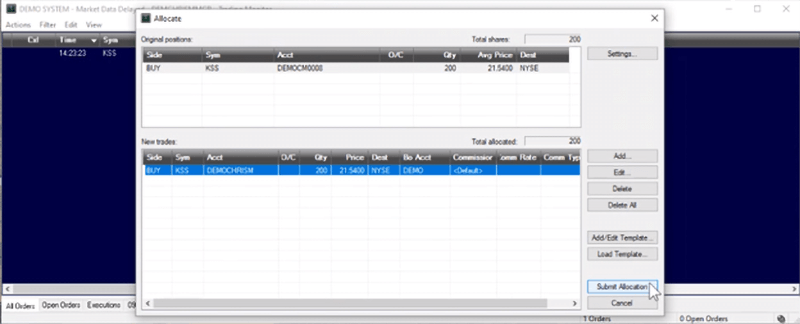
Once this is submitted you can open the Position Summary and see the adjusted positions.